Swapping the KLR stock drive gear for a 16t drive sprocket is an easy, and inexpensive upgrade that improves the bike in a couple of areas. The larger gear boosts speed and lowers engine RPM for reduced vibration and a noticeably smoother ride. On the road, it feels like you have an added gear and it really shows when running at highway speed. The down side is a slight loss of torque on the low end. But, most riders agree the benefits far outweigh this slight loss.

This post is a photographic overview of changing this gear on a 2012 KLR. This is not a step-by-step guide and you should follow the manufacturer's instructions for this procedure.

I pencil mark the axle position on the swing arm as a reference for positioning the axle when putting things together again. These marks are only a reference since the larger 16t gear will position the axle slightly ahead of it's original position when the chain is tightened at the end of job.


Wrap the chain over the new gear before sliding it on to the drive shaft and remember to becareful with those wires in front of the gear. I like to wear rubber gloves on these dirty jobs, to keep my hands from looking dirty and greasy over the following few days.

The new gear and new torsion nut are both installed. I recommend you tighten that nut to the specified torque. Also, be sure your torque wrench works properly. Also, notice the chain is a bit closer to those wires now.


This post is a photographic overview of changing this gear on a 2012 KLR. This is not a step-by-step guide and you should follow the manufacturer's instructions for this procedure.

I pencil mark the axle position on the swing arm as a reference for positioning the axle when putting things together again. These marks are only a reference since the larger 16t gear will position the axle slightly ahead of it's original position when the chain is tightened at the end of job.

Above: I have already removed the cover from the stock gear. that's easy. But, removing the nut on the old gear can be difficult. Have someone hold the bike steady with the brakes applied to prevent a tip over while wrenching on this nut. This impact wrench did not work and I finally used a breaker bar with a length of pipe slid over the handle for extra leverage. An 8 sided socket is a good idea to reduce the chance of the socket slipping off of the nut and possibly rounding the corners.

This is the stock 15t gear with the nut and washer removed. The chain is already loosened and the gear is ready to come off. Notice the bright, clean, yellow wires to the left of the gear. Be careful not to damage these wire when removing the gear.
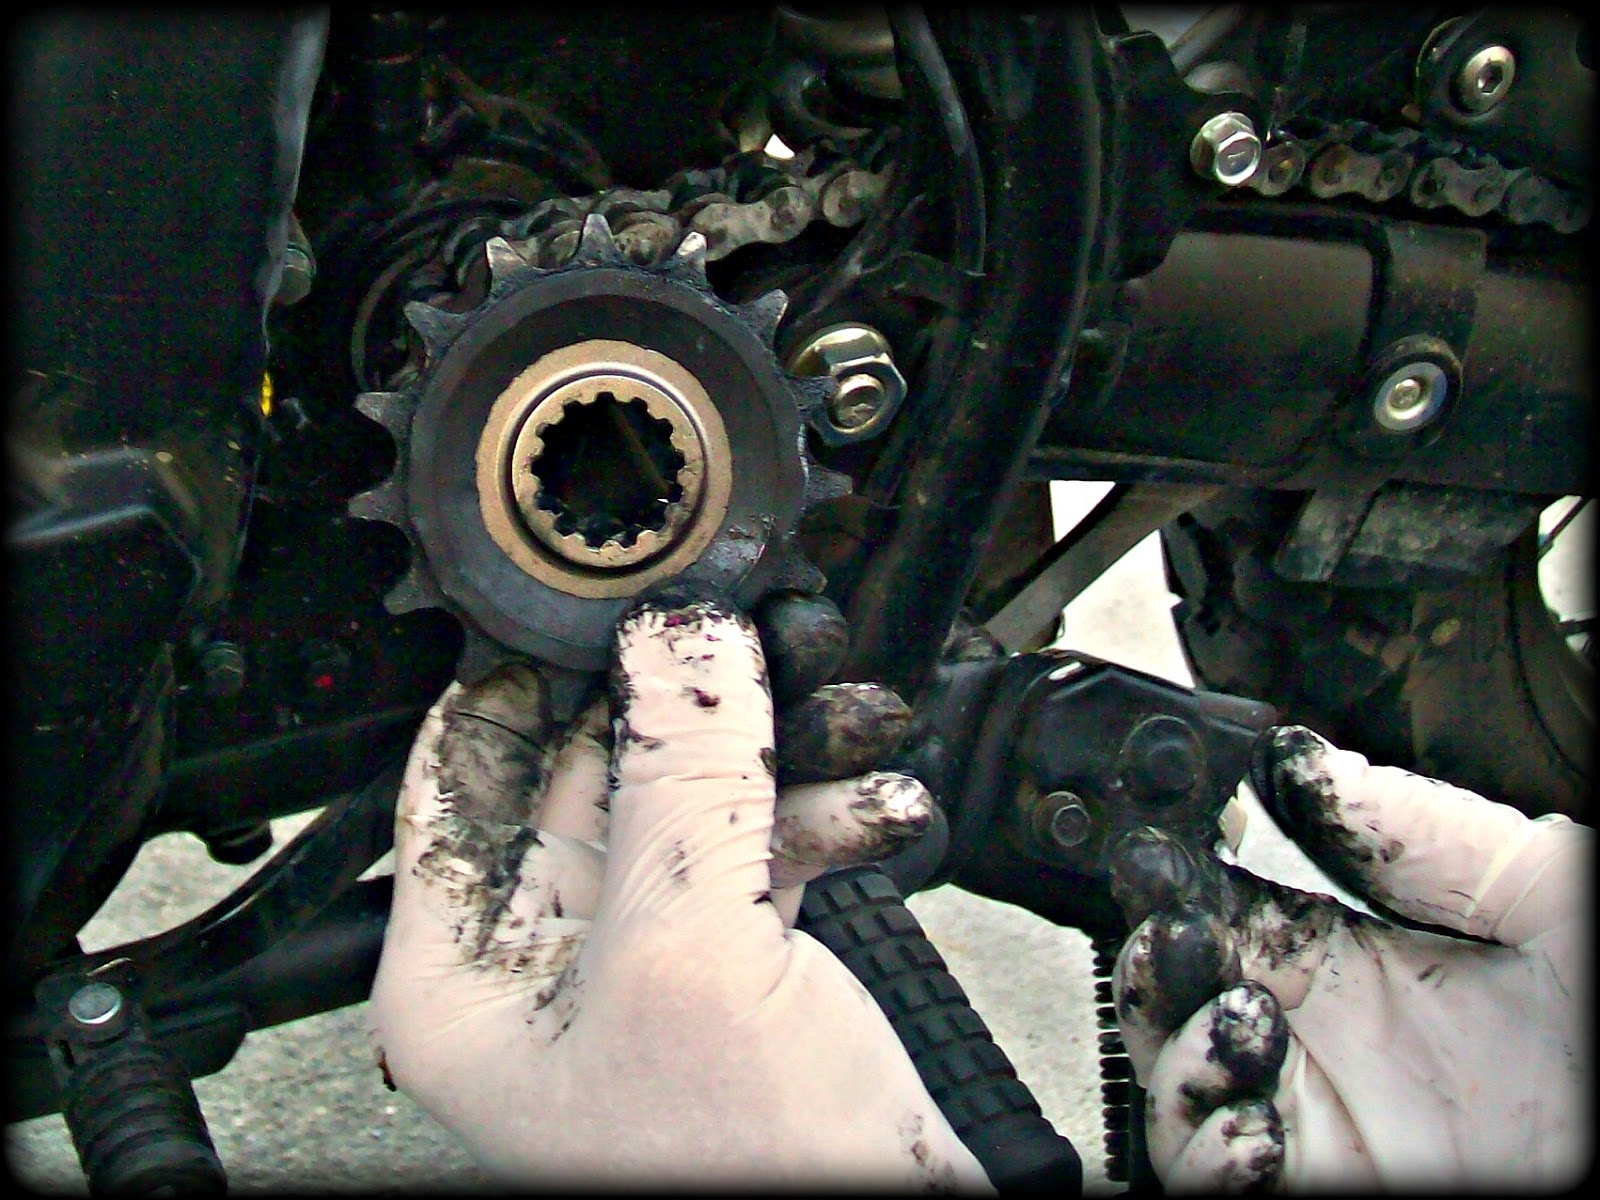
Have a gear puller handy in case the old gear is stubborn about coming off the shaft. This is also a good time to clean the black, greasy, funk out of this area and inspect those wires for worn or damaged insulation.

Yes, size matters! The above pic shows the size difference between the 16t gear on the left and the stock 15t gear on the right. That extra tooth will give your KLR a real boost on the highway.


Take your time when tightening the chain and ensure the axle is straight. DO NOT trust the factory reference marks engraved on the swing arm. One method is to measure from a fixed point on both sides of the bike to the axle on each side. Both measurements must be equal. When adjusting the chain slack, have someone sitting on the bike. The chain tightens with a rider on the seat. Remember to torque the axle nut on the right-hand side of the bike and install a new cotter pin; then install the cover over the drive sprocket.
Finally, throw those nasty gloves in the trash and take her for a spin. You may notice a slight loss of "zip" when taking off from a stop sign. But, you will soon forget that when you reach 55-60mph and find you have another gear to shift up. Have fun!